One of the areas that a web developer will spend the most time learning is a build system or process to streamline their directory own local development process. When I first started working with task runners I was using Grunt to automate tasks, such as compiling Sass, bundling JavaScript, and optimizing images. However, what amazed me was that all the same tasks that I ran locally to develop could be run before deploying to a production website using a Git repository.
The idea of using a task running or having a build process might be scary for some, but when working with one or multiple developers at a time on a single project it allows for everything to be kept in sync with a unified process that can be run on your computer or any number of other development machines in the same way.
Over the years and after having spent so much time in different development platforms like Drupal, Wordpress, and more I tried to find ways to remove as many extraneous pieces as I could to streamline my development processes. I started using Grunt and Gulp and eventually ditched those in favor of using Node packages directly with CLI commands within package.json to make it easier and eventually developed my responsive framework, called Centurion, from scratch. It was a way to develop and learn a way to standardize a set of reusable classes and components for a wide variety of projects that I was working on. The rationale behind Centurion will remain a discussion for another post, but suffice to say I am working on resurrecting it for some amazing new projects down the road. So stay tuned!
As of the publishing of this article, the process that I use primarily for development is Webpack and Tailwind CSS. I won’t go into much detail about the benefits and drawbacks of each since there are plenty of articles across the internet that already discuss that in length, such as, Why Webpack and Building a Scalable CSS Architecture.
If you’ve never used either then I would recommend you check out both projects and how they might help your current development projects. All the code that I have outlined in the walkthrough below is available on Github — https://github.com/Hounder-Co/webpack-tailwind-starter.
Getting Started
The process of setting up a starter Node project with webpack is relatively straightforward and you as of webpack 4 you technically don’t need a webpack config file to use it.
If you’d like to learn more about the configuration options in webpack then check out https://webpack.js.org/concepts/.
1. Create a project directory.
2. Within the project, initialize a node project
npm init -y
3. Now we can install webpack:
npm i --save-dev webpack webpack-cli
4. Create a file in the root of the project named:
webpack.config.js
module.exports = {

entry: './src/js/source.js',

output: {

path: path.resolve(__dirname, 'dist'),

filename: './dist.bundle.js'

},

module: {

rules: []

},

plugins: []

};```
5. Add an npm script to package.json so that we can run webpack from the command line.
...

"scripts": {

dev": "webpack --config webpack.config.js --mode development

},

"devDependencies": {...}

}```
6. Now we can run webpack using npm run build .
Setting up Loaders and Tailwind CSS
Now that we have a basic webpack project ready we can start having some fun. One thing to note is that natively webpack only understands JavaScript, so if we wanted to add CSS or image files it wouldn’t know what to do with them. This is where loaders come in, which allow webpack through the use of external modules to the necessary functionality to run PostCSS and even optimize images found within CSS files.
So now we are going to configure webpack to bundle our JS using Babel, compile CSS, optimize images and fonts, and output a bundled CSS file.
Install and Configure Babel
Babel is a JavaScript transpiler that will allow us to write modern JavaScript that is converted to be backward compatible with current and older browsers.
npm i --save-dev babel-loader @babel/core @babel/preset-env
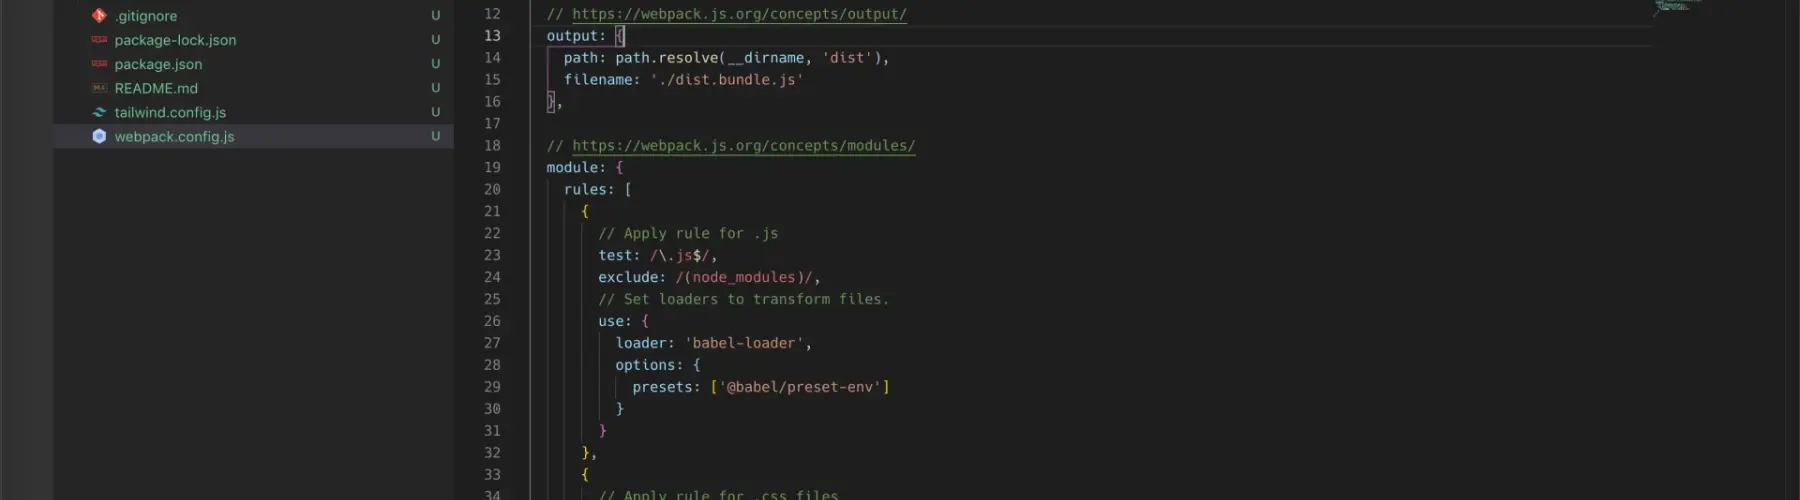
Within your webpack.config.js we will add the following snippet. This will allow us to compile any JS file found in our source directory and bundle it using Babel.
// Apply rule for .js

test: /.js$/,

exclude: /(node_modules)/, // Set loaders to transform files.

use: {

loader: 'babel-loader',

options: {

presets: ['@babel/preset-env']

}

}

},```
Install PostCSS and Tailwind CSS
PostCSS is a tool that transforms styles with JavaScript plugins. The reason I chose to use PostCSS rather than say Sass is that in more recent years with the releases in CSS 3 most of the features that make Sass powerful are implemented natively into modern browsers. For all the other key features that you might need I am going to say that there is probably a “plugin for that” which will accomplish the same thing. Allowing all of us to get back to writing CSS.
npm i --save-dev postcss-loader postcss-import css-loader mini-css-extract-plugin autoprefixer cssnano tailwindcss
Under rules we can now configure webpack to let it know how we want it to handle our CSS files, which will be to use PostCSS and then output an extracted CSS file into our dist directory.
// Apply rule for .css files

test: /.css$/, // Set loaders to transform files.

use: [

,

{ loader: "css-loader", },

{

loader: 'postcss-loader',

options: {

ident: 'postcss',

plugins: [

require('tailwindcss'),

require('autoprefixer'),

],

},

}

]

},```
Before we move on we need to ensure that we have included in our plugins the necessary plugin that will allow us to extract all CSS from our bundled JavaScript file and output a bundled CSS file. At the bottom of our webpack.config.js file inside of plugins we will add the following:
new MiniCssExtractPlugin({

filename: "dist.bundle.css"

})

]```
Before we can proceed we need to make sure that it’s required so webpack will know what it is. Right after const path near the top of the file add: const MiniCssExtractPlugin = require("mini-css-extract-plugin").
Optimizing Images within CSS
When developing applications or themes there are times when you may need to include images directly into your CSS files, but sometimes these images get forgotten about and end up taking huge amounts of space or have extraneous pathways that might not work in production environments. To solve these two issues we can now have webpack scan our CSS files for images and replace them with optimized, GUID referenced versions. The one great feature about this is that with a generated GUID it will prevent the browser from referencing an older image file with the same name since it will update the GUID each time webpack is run.
Let’s first install the necessary packages npm i --save-dev file-loader image-webpack-loader.
Then add the following to the rules section in our webpack.config.js
// Apply rule for images

test: /.(png|jpe?g|gif|svg)$/,// Set loaders to transform files.

use: [

{

loader: "file-loader",

options: {

outputPath: 'images'

}

},

{

loader: 'image-webpack-loader',

options: {

mozjpeg: {

progressive: true,

quality: 65

},

// optipng.enabled: false will disable optipng

optipng: {

enabled: false,

},

pngquant: {

quality: '65-90',

speed: 4

},

gifsicle: {

interlaced: false,

},

// the webp option will enable WEBP

webp: {

quality: 75

}

}

}

]

},```
You now can optimize CSS referenced images and output optimized versions.
Though we aren’t done, yet. We need to do some cleanup and make sure our dist folder doesn’t get out of control.
Clean Your Project Before Each Compile
A good thing to keep in mind is to ensure that your dist directory is clean each time we run webpack. If you don’t do this you may notice that generated files, such as our optimized images might start piling up duplicates quickly. So now we need to clean out the output folder before we run webpack to ensure that we have the latest and greatest versions of our code.
Install npm i --save-dev clean-webpack-plugin
Require it in webpack const { CleanWebpackPlugin } = require('clean-webpack-plugin');
Then add it under plugins.
new CleanWebpackPlugin(),

new MiniCssExtractPlugin(...)

]
Go Forth and Develop
From here you should be able to use this starter to start adapting either your current web projects or start brand new ones from scratch. However, one thing to keep in mind is that this is not meant to be a set it an forget it type of starter. Depending on the project structure you can adapt this to work with theme building for Drupal or Wordpress or even to work with React apps to build something awesome.
Are you interested in more?
At Hounder, we spend a lot of time iterating and adapting our coding styles to ensure that everything we build is clean, tested and scalable. We work on a wide variety of web projects across e-commerce, startups, enterprise and more. If you’re interested in learning more than check us out